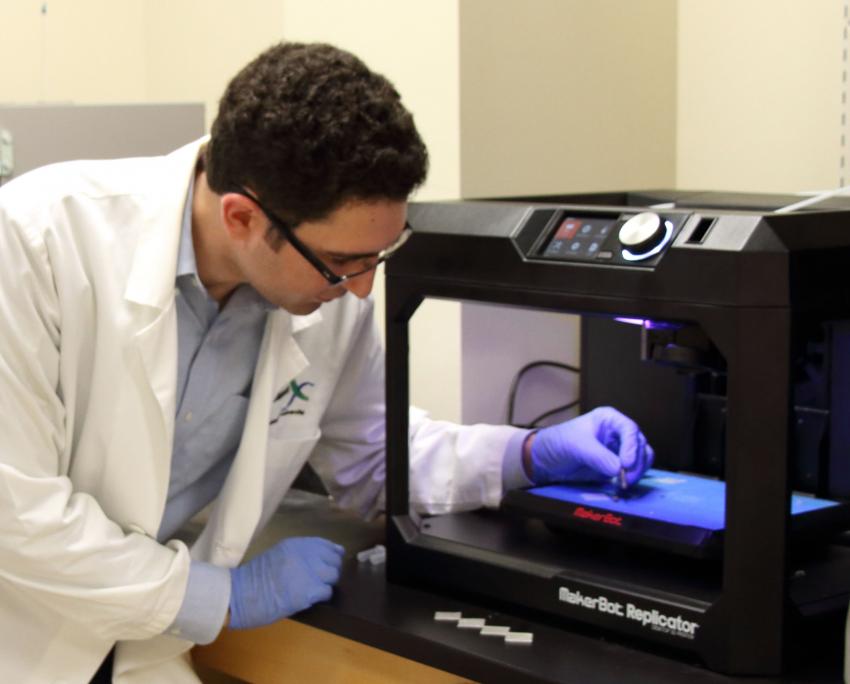
3D printer usage step for beginners

- Design Preparation
Start with preparing the 3D files to print, make sure the object is solid, and all surface is welded and watertight. Usual format is .OBJ or .STL and some more
- Object positioning
Using Repetier host application, you can position and orient the 3D object so it will fit into the print area and adjust some spacing in the layout so it will safe to print
- Infill Density and Speed Setting
Next step will be setting the density of the infills to determined how closely packed the infill inside the object will be. 0% means the inside of the object is completely hollow, and 100% will make the item is full inside filled with solid filaments.
Also remember to set the speed of the printer, it should be at the just sweet spot, not to fast, and not to slow, because too fast, and it will result in strings because the filament is still melting even after the nozzle is away from the print, and too slow will be very inefficient in producing
- Connectivity preparation
You can set the printer with your computer directly nowadays, first, we must set the connectivity between your computer and 3D printer. And from your PC, you can adjust nozzle temperature, nozzle height and the printing boundaries.
Choose Serial Connection option if we want to set the machine directly without using a server.
Choose Port-Auto to improve the connection between the machine and computer.
5.Setting up 3D printer with your computer
After the 3D printer and computer is connected, you can set the extruder temperature, fan temperature, bed temperature and speed of the nozzle and the amount of filament coming out from your computer
- Saving 3D slicer Files
In order to not re do all the settings and positioning that we already done, when we want to reuse it next time when we print, we can save the file through the Print Preview column.
You can save it on SD card, or in your computer’s local disk. When printing bigger object, it is recommended using an SD card so you can leave it on the machine in long periods of time.
- Printing the object
This is the final part of the process, make sure all the filaments is set correctly in place.
Click on Print, then the printer will automatically calibrate, heating up the nozzle and bed according to the setting set in the computer.
